Showing posts with label Food Stuff. Show all posts

Saturday, May 14, 2011

my week in pictures

hello guys so i basically just had this idea to take different random pictures that i take with my phone throughout the week and post them on my blog. 
so i'll try my best to do a post every saturday showing you guys how my week went down.

or of just random pictures.
so the start of the week [well tuesday] it rained like a LOT of rain and basically half or more than half of the town flooded and normally we never have floods, but it was pretty bad they had to close several streets and roads and even the highway.


now i realize you probably can't see the water but at the bottom of the hill the road was basically covered with water.  
i'll try and get a better picture next time. 


and then i saw this when looking through blackberry's app world. i just found it funny.
[just a fyi i didn't buy this app i just thought it was funny]


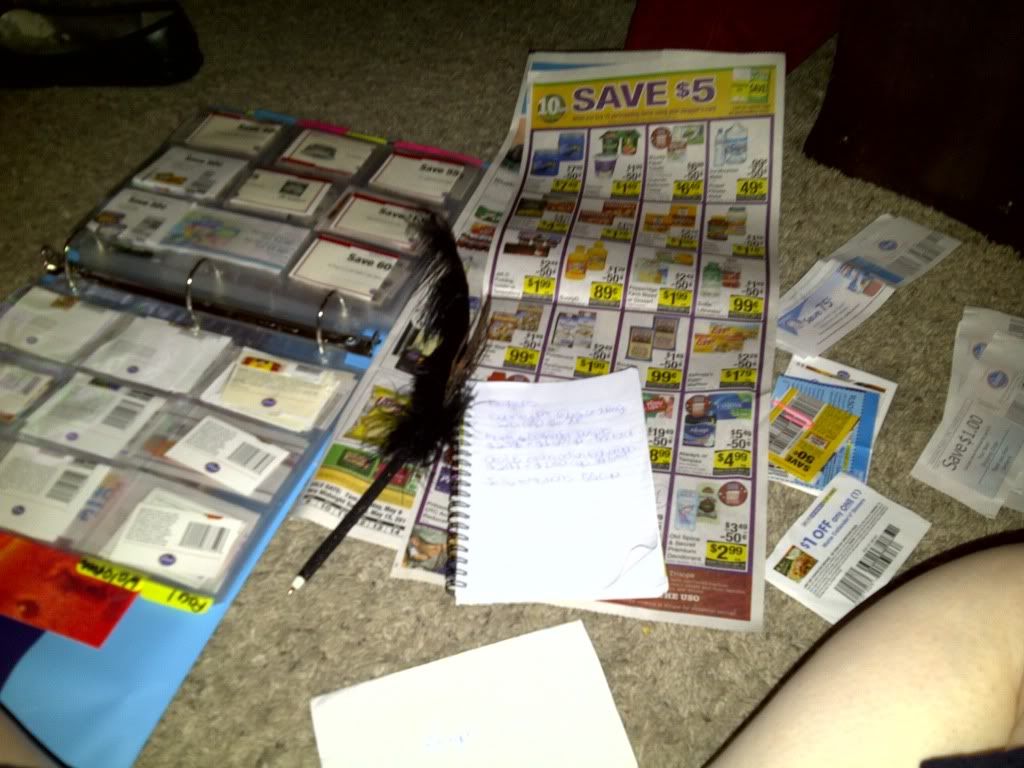
and then i figure out what the best deal is on toothpaste with coupons ect. notice i'm sitting on the floor for whatever reason, and notice my feather pen, it's not a very good pen for writing though so it's just for looks, because that makes total sense.

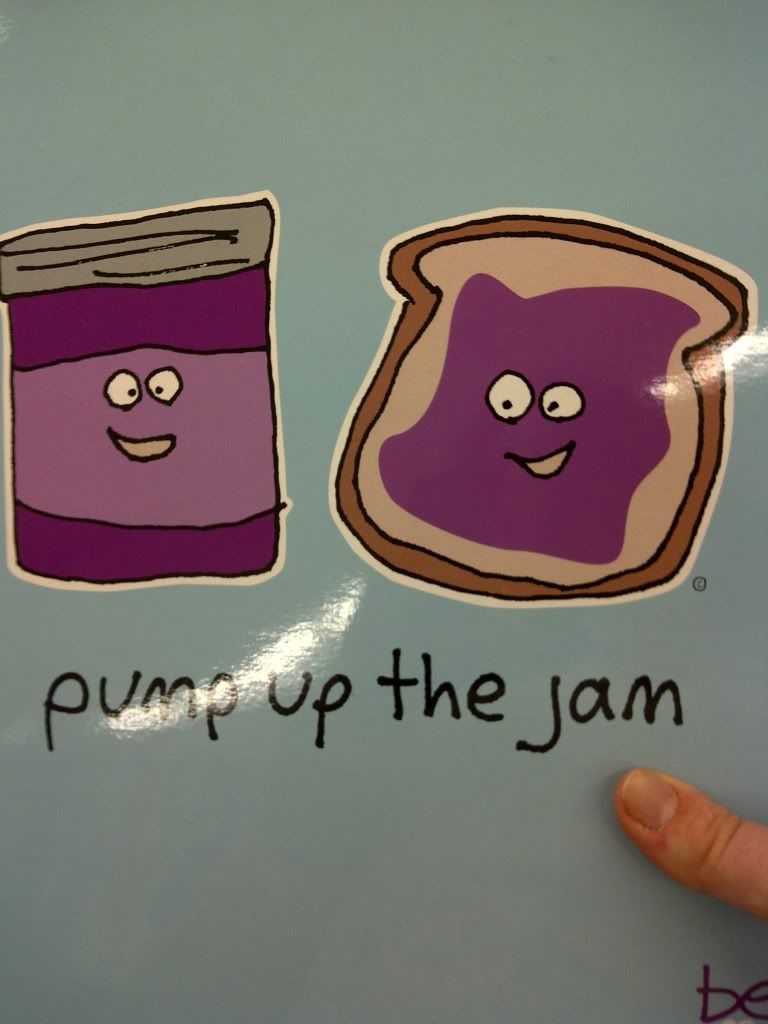
i saw this folder at walgreens yesterday and found it so cute and funny, i didn't get it though because it's $2.50.
too expensive!


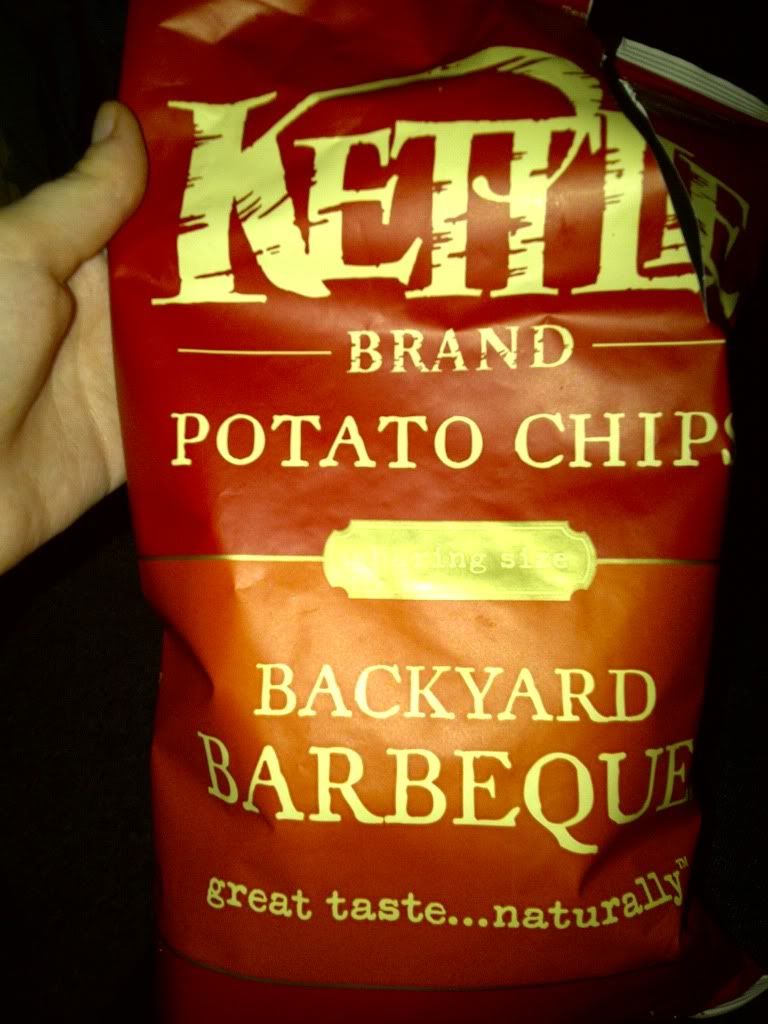
we got these from kroger yesterday, their not as good as the classic barbecue, but they were cheaper, and i still find these addictive.

so yeah that's what happened this week in my life. 
bye!

Sunday, May 1, 2011

Shrimp Stir Fry


Hello everybody! So i finally have a new recipe for you guys and it was new to me as well, i basically made it up myself, and it came out so good i thought i'd share!

okay so theirs 3 different dishes for the complete dish: Rice, Vegetables, and Shrimp

so the first thing you want to do is start the marinade for the shrimp. some people will marinade their meat ect. for a few hrs before you can, but i usually let it marinade for 20 to 30 minutes before i'm going to cook it.

what you need:

2 lbs. of shrimp 

marinade:
1 Tbs of teriyaki sauce

1 tsp of sesame oil

1 Tbs of hoisin sauce

1 Tbs of tamari sauce (it's just dark soy sauce, you can use regular soy sauce)

1 bs oyster sauce

Spices:

1 Tbs of chili powder

1 Tbs of paprika
1 Tbs of sesame seeds 

1 Tsp of red pepper flakes
1 Tsp of coriander

1 Tsp of cayenne pepper 

1/2 Tbs of chinese five spice powder  

1 Tbs of onion powder
1 Tbs of garlic powder

*fyi* most of the time when i'm measuring something unless if i'm baking i never use measuring cups or measuring spoons, i just eyeball it (thanks rachel ray) but after you do it for awhile you get pretty good at guessing how much you need. i just measure dry things in the palm of my hand.


this is probably 1 to 2 tablespoons of garlic. 
there's no need to measure exactly how much spices you should put in that's the thing with cooking. you can add as much or little you want it's all about creating something you love rather than making something to eat. 

but if you're a measuring addict go ahead and measure.

okay so back to the recipe.


mix all the sauces and spices in a bowl then  the
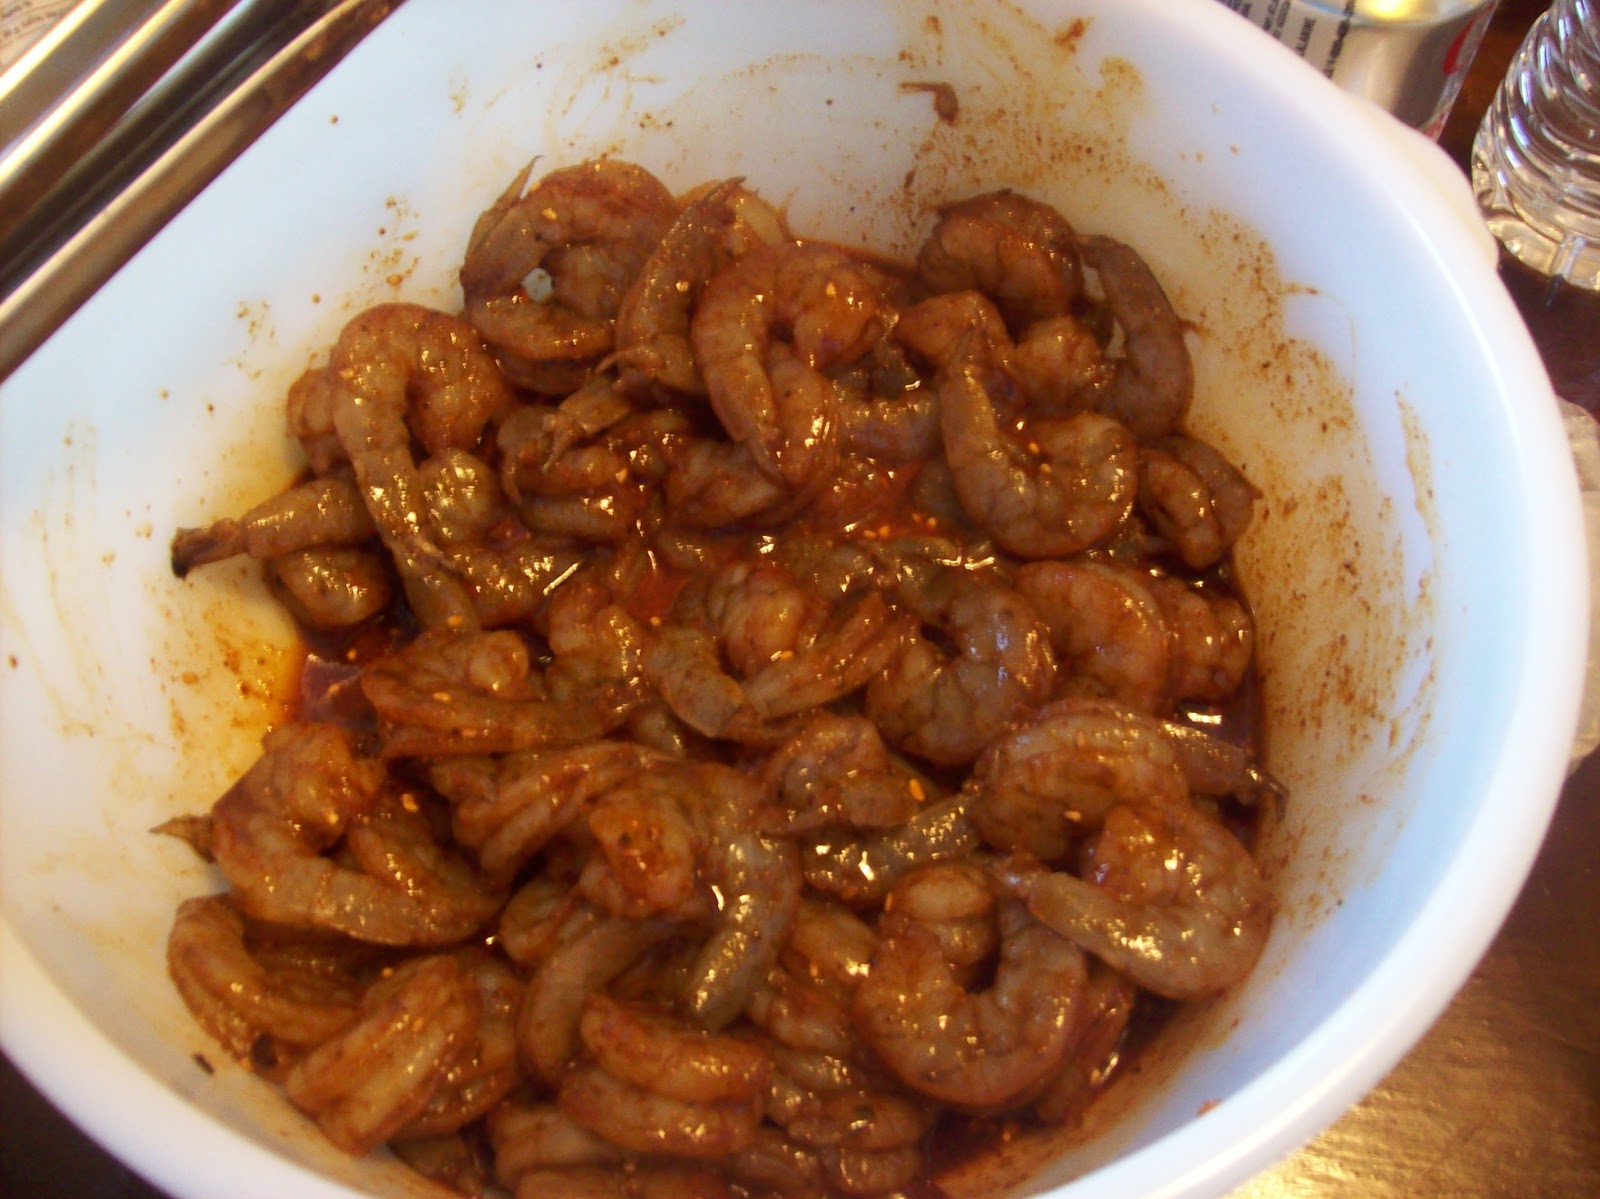
shrimp in another bowl and toss to evenly coat the shrimp.


so the next thing you want to do is put on the rice. 

what you need:
1 cup of short grain white rice

2 cups of water

1/4 tsp of powdered ginger

1 to 2 Tbs of garlic powder

salt and pepper to taste (i did kind of go light on the salt because there's so much salt in the sauces)
put everything in the pot and mix together, turn on the burner on med-high heat, put the lid on and set a timer for 10 mins, then once the 10 mins is up turn the heat down on med-low and set the timer for another 10 mins. then once that 10 mins is up turn off and leave until the rest of the food is done.

next is the veggies.

what you need:

2 carrots cut in half then cut in half again in length then cut in strips

3 leaves of  bok choy cut in 1 inch pieces 

1 broccoli stem from a head of broccoli cut in 1 inch pieces (i just used it because we had a stem left, and wanted to use it)

1 med size onion cut in half then cut from front to back then break apart the inside of the onion with hands (i like to do this because i think it looks a kind of asian-ish?)

2 cloves of garlic minced
1 lb of snap peas

15 mushrooms (the small package) cut in quarters

3 green onions cut 1 inch

2 Tbs evoo (extra virgin olive oil) (2 turns of the pan)

go ahead and cut the carrots, bok choy, and broccoli and the garlic.
then turn on the skillet to med high heat, add the evoo then add the garlic, to infuse the oil, let it cook for about a min. you don't want to leave it cook too long because the garlic will burn. (i've been doing this the past few times i made some eats and noticed a difference)


then add the carrots, bok choy and broccoli  and but them in, let them cook for about 3 to 5 mins. (the reason why i put these in first is because they take the longest to cook)

then cut the onion and add it

then add the snap peas,
then cut the mushrooms then add them

then cut and add the green onions 

let it all cook until it get a nice glossy look


then add the sauce and spice mixture, let that cook for about 5 to 10 mins depending on how done you want you snap peas, these turned out really crunchy which i dont mind.


remember the shrimp?


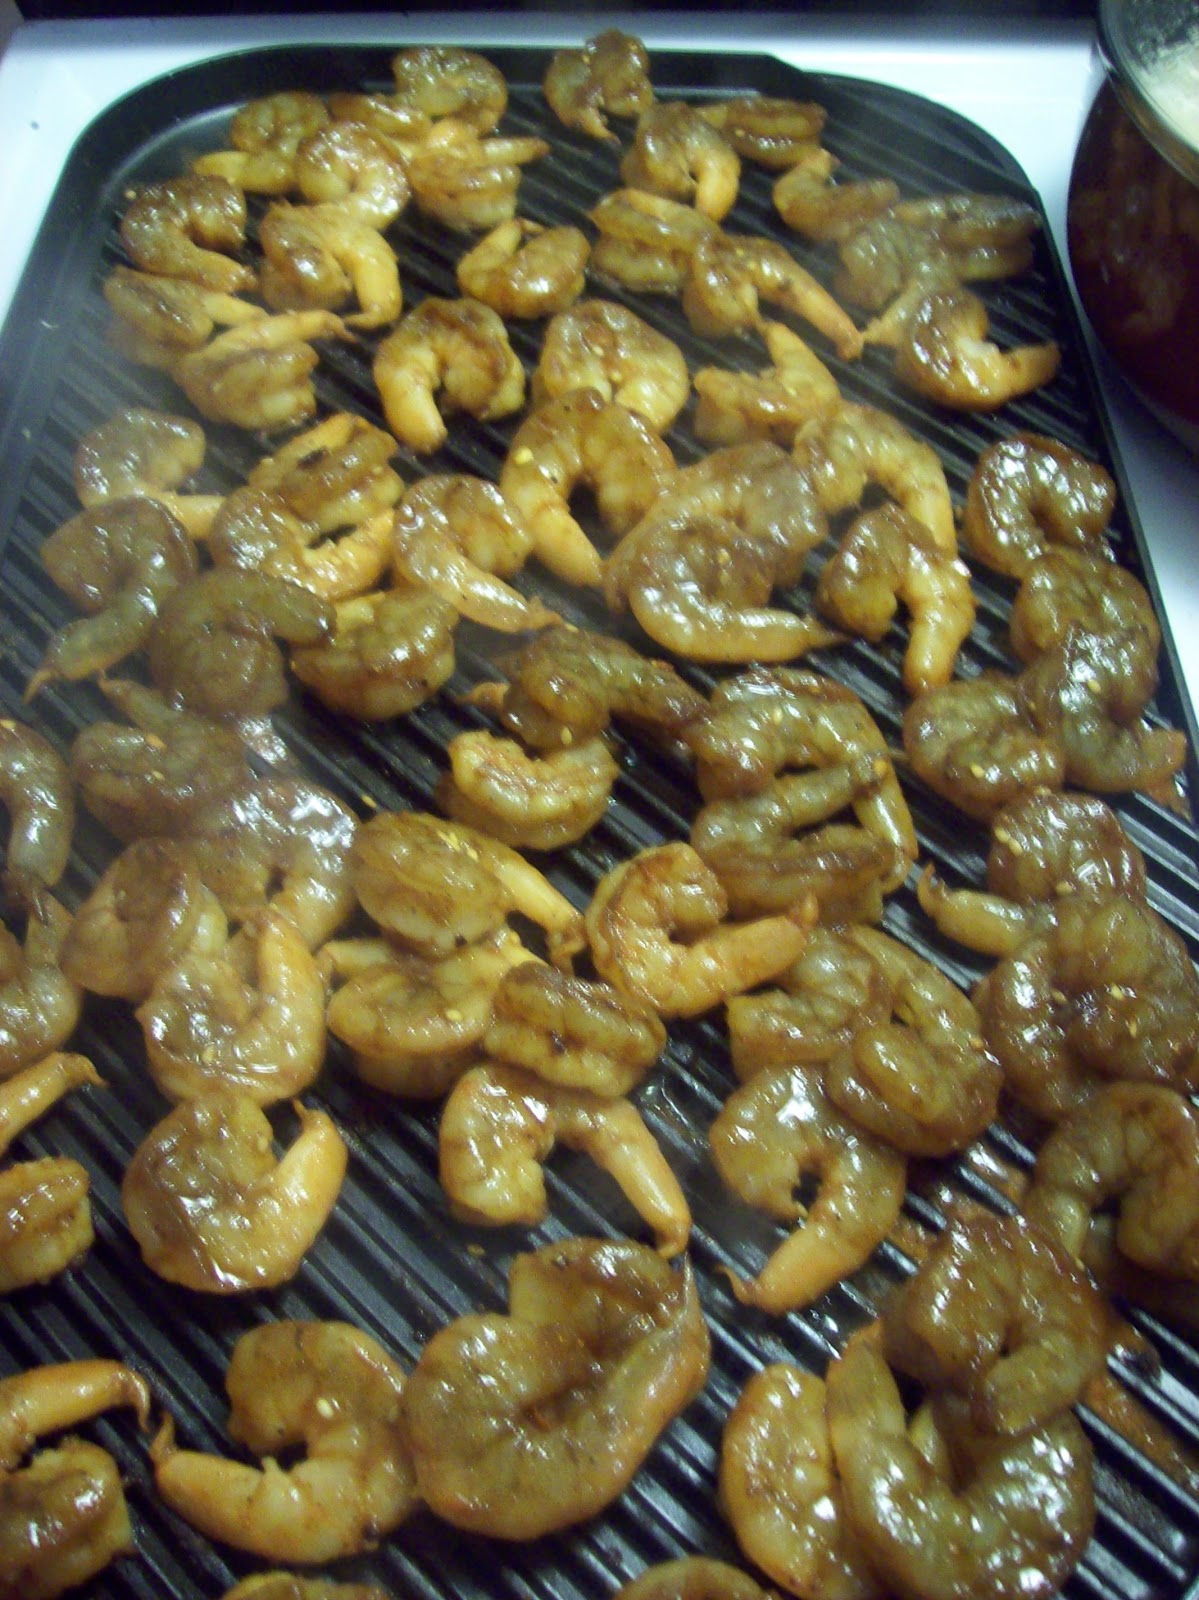
my origonal plan was to grill outside but i thought they might burn right away, so i used our grill pan, i don't really taste any difference then if i would have cooked them in a regular skillet so if you don't have a grill pan you can just cook them in a regular skillet.


just cook until the shrimp turn pink on both sides and about a min longer to cook through.


.move to a plate to stop the cooking process. 


by this time the veggies should be done and the rice should be as well, so now your done!


just put the rice on the plate then the veggies then the shrimp


i think the next time though i will mix the rice with the veggies in the skillet, white rice tends to get sticky so the sauce helps to break it up a little bit. 


oh and this i quite spicy too, i usually don't like really spicy food but i think i'm coming around to it, i think if it's spicy the right way i like it.

so that's pretty much it! have a good week!



Tuesday, March 1, 2011

strawbery trifle

hello everybody 
can you believe march is finally here? well you know what that means spring!
it seems like everyone is so anxious for spring, even i am and i like cold weather but after 4 months, it's time for warmer weather.
am i right?

oh  and the pic is of the best chips ever made i'm telling you these are the BEST & their what i was snacking on while making this dessert.

okay so on to the dessert 
this is soooo easy, even easier than the pumpkin trifle i made back around thanksgiving.
well maybe their both the equally easy to make, i don't know i just like to make easy things.
oh and this recipe i made myself

so you need a angel food cake

trim off the brown crust of the top and edges 
then cut horizontally so you have 3 layers even in thickness, if one layer is a little bit thicker than the other 2 don't worry about it, just put it in the middle or bottom of the bowl.

then you need

some sliced strawberries{these came from the frozen section by the cool whip at kroger}, i don't know the amount of how much but i think this might be 2 cups. you want at-least 2 cups total of strawberries and syrup 1 to 1.


then drain the syrup into a bowl  

 i just used a spoon to move the strawberries around a little bit to get more syrup then just waited a little bit for them to drain.
then you need 

cool whip 2 tubs and i mixed 1/2 a teaspoon if vanilla extract then folded it in to the cool whip to make it billowy like a soft cloud.

and you will also need white chocolate {i forgot to take a picture of it}{oops}

so now it's time to assemble the 1st layer you take one of the angel food cake layers and lay it in the bowl.
i also forgot to take a pic of the assembly of the 1st layer but it's the same thing for all 3 layers.
so like i said you but this down then you take the syrup and put it on the cake.


i poured it on the cake then used the back of the spoon to spread it so it was saturated.

then spread the strawberries on top


don't worry i filled in that gap towards the corner. 

then you want to spread the cool whip on top and shave some white chocolate on top of the cool whip.


then do another layer then another.
i made this a day ahead and it came out really well so i would suggest doing that but you can still eat it on the same day just put it in the fridge for a couple to get it chilled. 
so that's it i hope somebody will make this because it's so good. 
i think it's also a good one for spring and summer.
well write to you later


Tuesday, January 4, 2011

Roasted Vegtables 101

 hello everyone happy 2011. so now that the holidays are over and it kind of bittersweet  for me because i love Christmas and New Years, and i love the decorations and the food and the music and everything else. but there's only so much we can take.


so the sweet part of it all is since it is winter is the "winter" foods, meaning roasted vegetables, soups and pasta and breads, but mostly roasted vegetables this is the time of the year when you can make them whenever because it warms up your kitchen like when you make a turkey on Thanksgiving, and when it's 65 degrees outside you don't want to make these unless you want to roast, trust me we tried one day when it was like 65 or something, and about died.


anyway let's get on shall we?

 so roasted vegetables i LOVE LOVE LOVE love roasted vegetables! they are soooooooooooooooo easy i mean they are easy the only thing that does take up time is cutting all the vegetable's that takes a good bit of time depending on how much your fixing and the time it takes to cook them so you'll want to start fixing them about a hour and 20, 30 minutes before when your planning on eating, because of the time it takes for them to cook. 

i will have more recipes later because you can have different combination's.

ingredients:
vegetables- 
carrots 3
butternut squash 1
sweet potatoes 3
irish potato's  a few
2 or 3 garlic cloves
a sprig of rosemary
medium size onion


the amount of vegetables you use depends on how much your planning on fixing


what you need


a large cutting board a chefs knife and a vegetable peeler. i perfer this kind of vegetable peeler because it's easier to peel the carrots and squash.


a pastry cutter, it makes it easier to scoop up the vegetables and drop then on the cookie sheet.


see you don't have to go out and get one, but if you already have a pastry cutter try it. you won't go back to using your hands to move the vegetables.


you will also need a cookie sheet lines with foil, the foil makes the clean up a breeze, unless you want to stand over your sink scrubbing until the end of time. i forgot to take a picture of the cookie sheet with nothing on it butt it would have been so boring to see a picture of just a cookie sheet with foil on it. right?


cut the onion in half then each side cut strips like i did then cut it again down the opposite direction then break up the layers of onion with your hands.


peel the carrot skins  then cut in 1/2 inch discs.


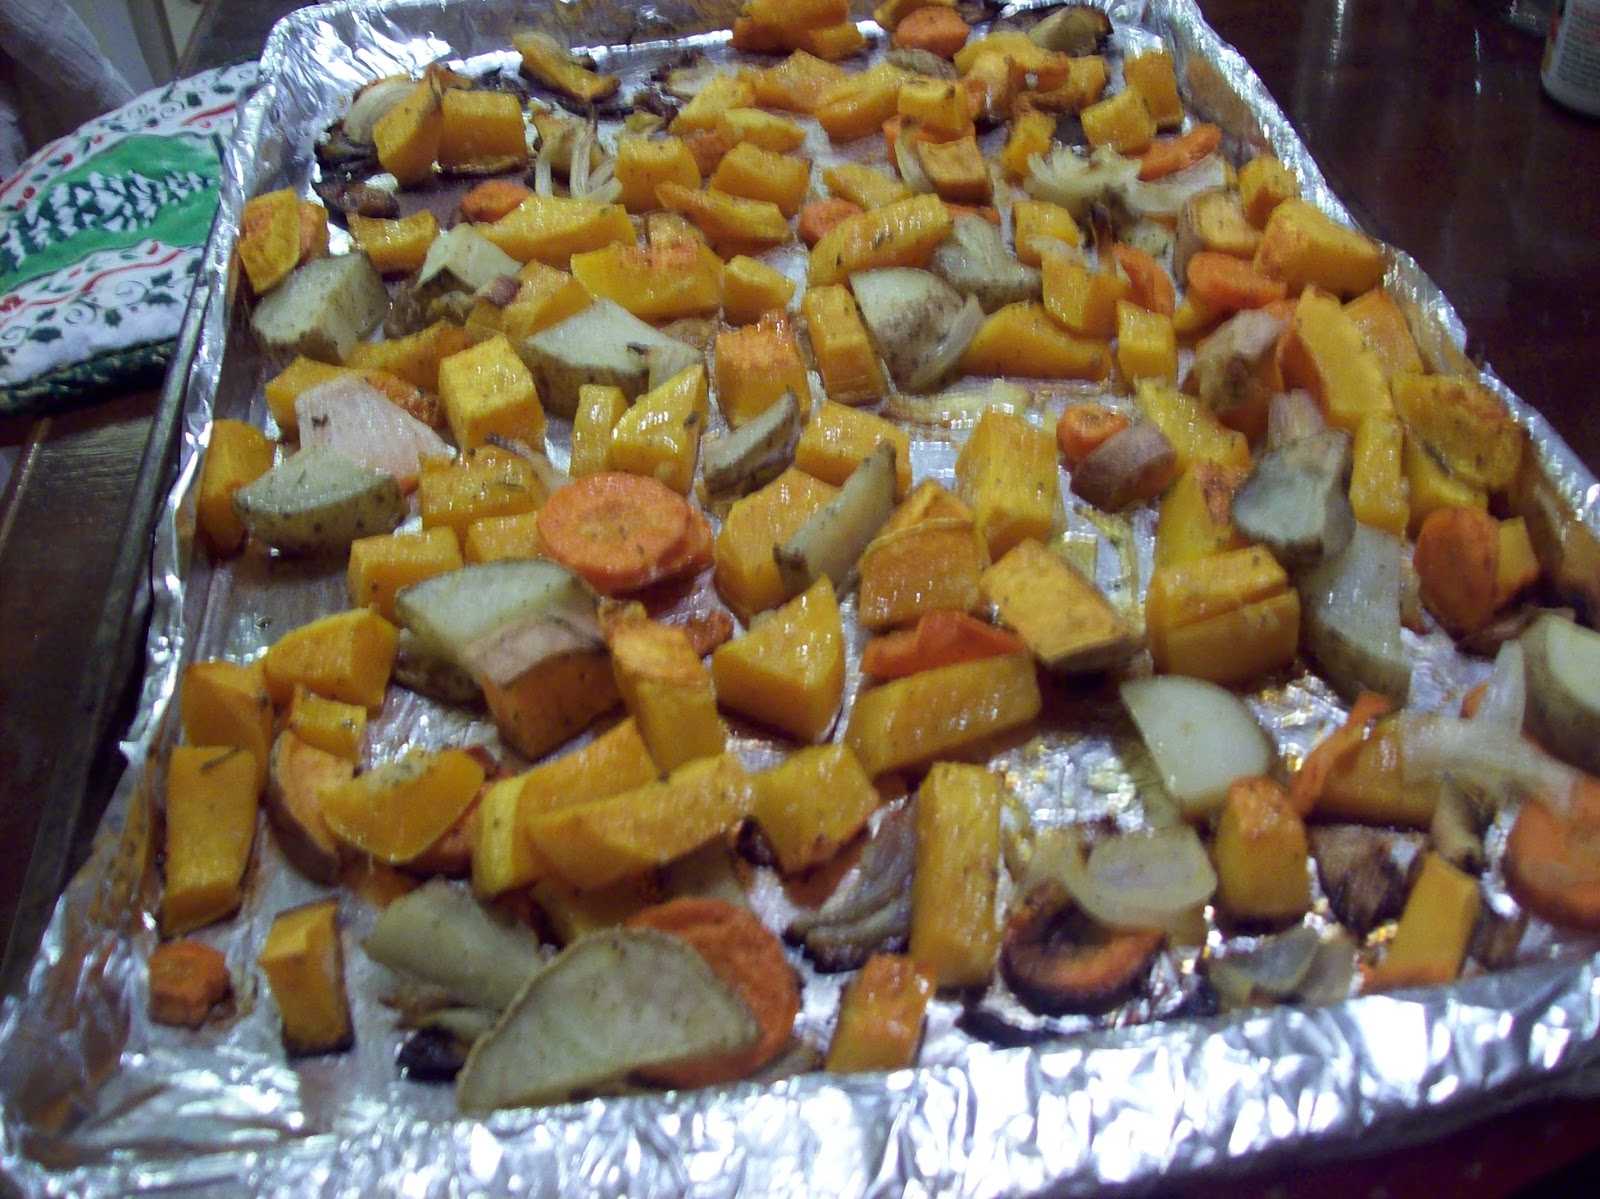
then cut the rest of the vegetables so they basically look like this, you want them to look similar in size so they can all cook evenly.


then take a microplane and shread the garlic if you don't have a microplane just chop the garlic.
no if your saying to yourself why not use the mince garlic you can get from the store? because it's not as fresh and i believe you should have the best and fresh is best.


this is what the garlic looks like after you shred it just a f.y.i. it doesn't look the same as what you get int he store too.


take the leaves off the sprig or whatever it's called, chop the rosemary.


just put the garlic and rosemary on the sheet add salt and pepper then toss with your hands or tongs.


then put in the oven at 400 degrees, for 40 to 45 minutes. 

then you have a feast that looks like this.


enjoy!!!
i want some now n we don't have any :(


Tuesday, December 7, 2010

Spiced Pumpkin Mousse Trifle

yay i finally have a new recipe!! i don't even remember what my last recipe was that's pretty bad.
ok so i got this recipe from a rachel ray magazine it was from the november 2009 issue. so yeah when i saw it i was like ohh i have to make this for thanksgiving i mean i love pumpkin pie but anything else with some pumpkin in it i love it as well. 
so anyway again, it's realllyyyy easy i mean when i saw it n you know where on recipes it says "level-easy"  n you wonder is it?? well this was really easy.

so all you need is
[i got the recipe from the website so that's why the text is different]
  • 3 cups heavy cream
  • One 15-ounce can pure pumpkin puree
  • 1 teaspoon pure vanilla extract
  • 1 teaspoon ground cinnamon
  • 1/2 teaspoon ground ginger
  • Pinch ground cloves
  • Pinch salt
  • One 7.5-ounce jar marshmallow cream
  • 3 cups chopped gingersnaps, plus crushed gingersnaps for sprinkling
  • 3 tablespoons dark rum 
don't worry we used imitation rum flavor.

see


ok so like i sad i wanted to make this recipe for thanksgiving but we had 2 thanksgiving dinners this year n i didn't want to try a new recipe for my brother n his g.f. 

that is like my #1 rule when it comes to trying new recipes. don't try it out for the first time when your going to have company or a party always always always try it before because
A-you might think the dish is gross, or just don't like it.
B-it ALWAYS ALWAYS takes you 2x as long when making a new recipe because you have to keep looking at the recipe to see what you need what you have to do next double check...it just takes you longer. but the 2nd time you do it it doesn't take you as long.
C-you want to get some 2nd opinions on if others like it, and ask what you should change usually it's my mom...you need somebody who will be honest because people who aren't close to you aren't going to tell you that you should change this or that or they don't like it.
D-you will want to go through the experience of making this new thing,time  and if you make it on your own time you'll feel more comfortable and won't be pressured to try n get it done because your limited on time.
E-once you've done the recipe and you love it and other love it then you defiantly know it's a keeper. 


so yeah i just went off on my whole "recipe rules" thing idk why i just started writing about it because i wasn't planing on it but i did. so yeah.


anyway. AGAIN so like i wrote this was my first time making it n i tried it and i'm really glad i did because it didn't turn out like i wanted. it was still good but because you whipped your own cream n i didn't add any vannalia or sugar n just went by the recipie, so the whipped cream had pretty much no flavor...it just wasnt sweet, and i don't know about you but when dessert is'nt sweet it's just not right. so i added some cool whip the 2nd time i made it n it was sooo much better.

Directions:

  1. Using an electric mixer, beat the cream until stiff. Reserve 2 cups whipped cream for serving; refrigerate until ready to serve.
    you can skip step 1 if your going to use the cool whip.
  2. In a large bowl, stir together the pumpkin, vanilla, cinnamon, ginger, cloves and salt. Fold in half of the marshmallow cream, then half of the whipped cream. Repeat with the remaining marshmallow cream and whipped cream until combined.


     chopp the gingersnaps idk why it doesn't say to do this in the directions.                               
     

In a medium bowl, sprinkle the gingersnaps with rum.


  1. Spoon one-third of the pumpkin mousse into a clear glass serving bowl, spreading evenly, and sprinkle half of the cookies on top. Repeat with half of the remaining mousse and the remaining cookies, then top with the final layer of mousse. Cover with plastic wrap and refrigerate until ready to serve, at least 1 hour and up to 4 hours. Just before serving, top with the reserved whipped cream and sprinkle with the crushed gingersnaps.

i forgot to take a picture if the bowl when i put the stuff in it but it pertty much looks like the pic on the website.


so yeah like i said before it's sooo easy you can also watch the video in the website, i did, i always find it helpful. so enjoy!

Saturday, November 13, 2010

how to: pomegranate

so since it cooler pomegranates are in season and i love them. i will eat the seeds by themselves or put them in homemade cranberry sauce. i've seen pictures in magazines and online on how to get the seeds out but it would still be messy so break open, so when i wanted to eat the pomegranate i thought to score the skin deeper and it worked!        


        you'll need:
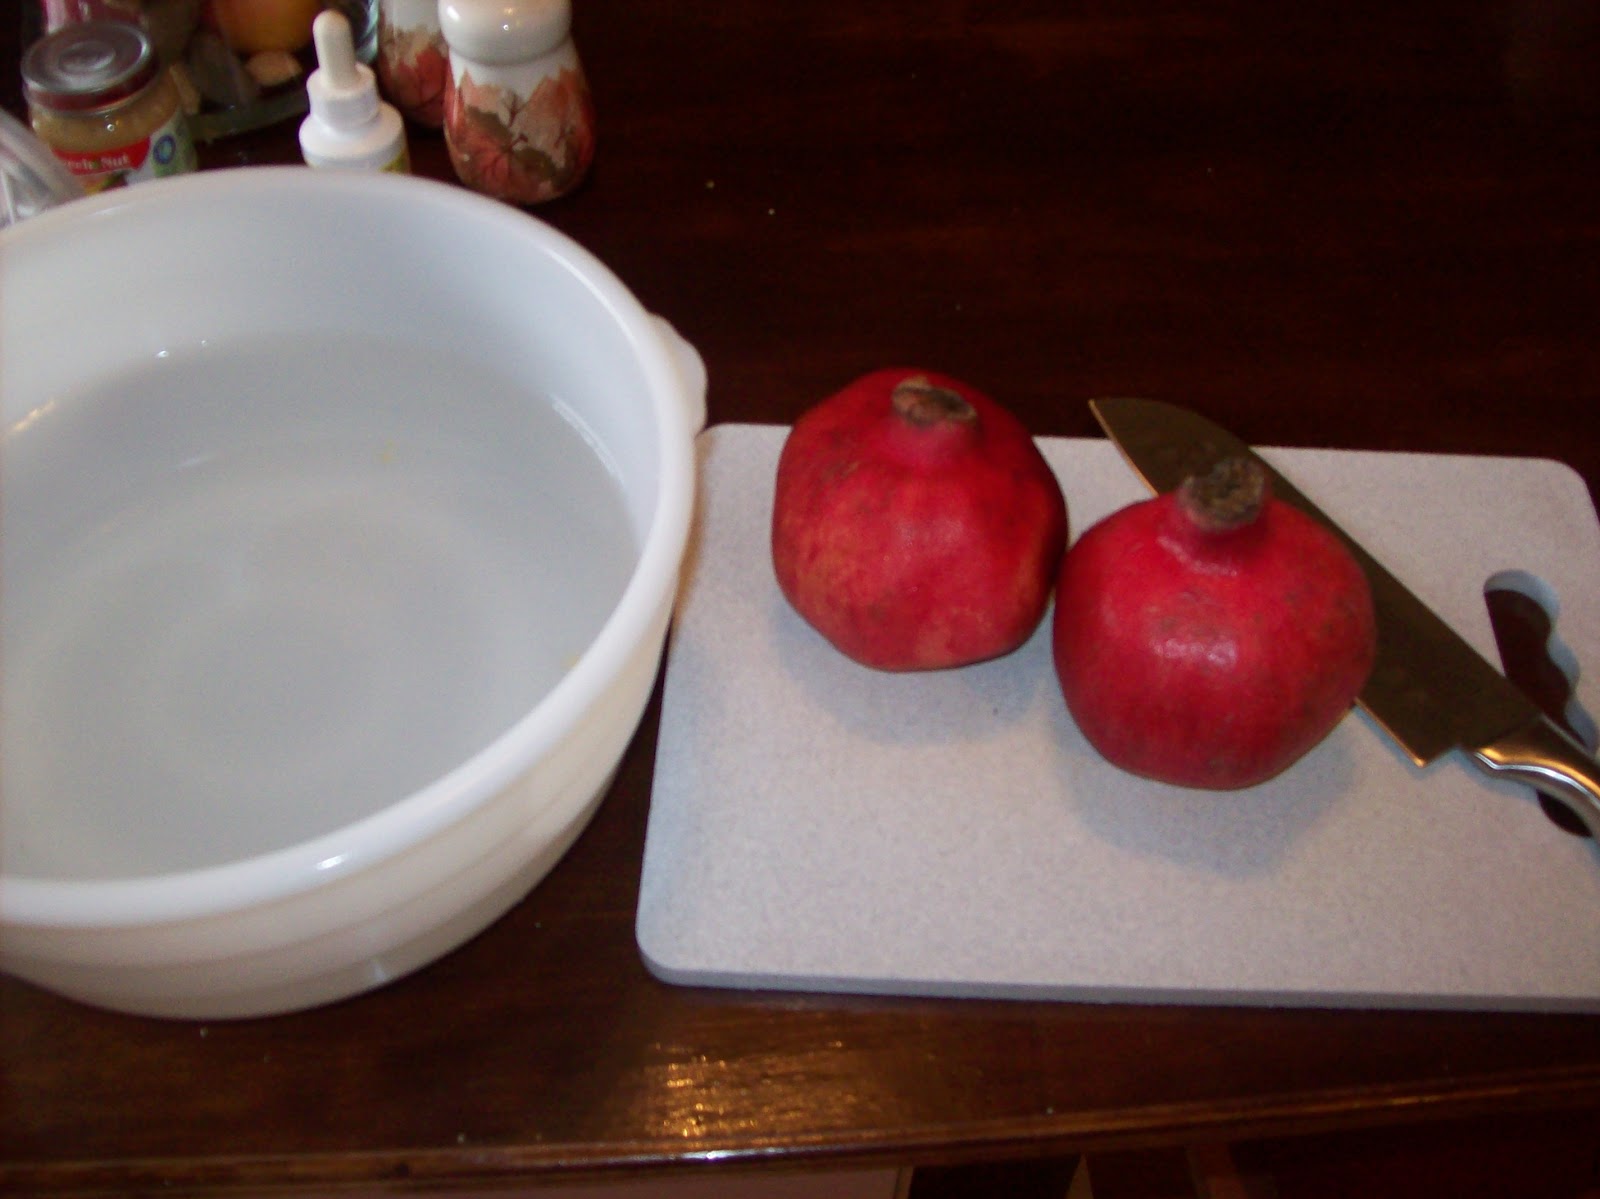
      a cutting board
      a sharp knife 
      a large bowl filled with cold water
      another empty bowl for the seeds
      another bowl to discard the skin and other unedibles [it's easier to have a bowl right next to    what your working on than having to go back and forth to the trash can]


score the pomegranate 2xs in a X pattern as you can see


    this part take alot of skill, put pomegranate in bowl of water. i hope nobody gets too    overwhelmed with this.


   i didn't get a pic of me breaking the pomegranate open but all you do is just pull it apart under the water the reason why you have it under the water is so the dark juice doesn't squirt all over you kitchen and on you.


then you work the seeds off. i just use my thumb and just break them off i don't keep my hands under the water the whole time cuz they would freeze but it's easier to keep

    what the inside of the pomegranate looks like in case anybody was wondering it's almost too perdy to mess up. well not really.

oh before i keep going i will warn you this task is VERY tedious i'm telling you now because it will seem like forever to get all those seeds and trust me you want to get all the seed out because you would'nt want to waste them one seed not one! not like their expenisive but because their really good.  but it is very very tedious if you are somebody who likes todo things quickly [and i will admit i'm not the most patient person in the world but when i'm working on something i like to take my time] but if you're someone who likes to get it done you will hate taking all those seeds out because it took me a while and i did 2. but i just wanted to warn you. ok let move on.


    10 minutes after [i told you it would take awhile] this is just from one pomegranate. another reason why you have the seed in water is you see the yellowish membrane thing at the top well you don't want to eat that so therefore the seeds fall at the bottom of the bowl and the yellowish thing [i don't really know what it's called] floats at the top so you can separate the seeds. and the yellowish stuff will still be stuck on a seed or two and it will float to the top so you can get it off at the seed.
oh and yes the seeds are edible.


   after you got all the seeds off the you want to strain them and then eat right away or you can save them for some homemade cranberry sauce. 
enjoy!


Friday, September 17, 2010

easiest bbq rub ever

i know i've been such a slacker with posts but i've got some posts planned so wait for that hopefully they will be up sooner rather than later. but now i have a recipe that is so easy anybody could so it and it's soooooo simple.

all you need is:
brown sugar n chili powder
your choice of meat {chicken, steak, porkchops} 
we tried it with steak for the 1st time n my mom was hesitant for whatever reason. but i didn't care.


1 st step gather ingredients


put brown sugar on plate i just eyeball it


then measure about 2 tbs of chili powder in palm of hand again eyeball it


coat meat with mixture as you would with bread crumbs and let sit for 10 to 20 mins to let it get a glaze, if you have to go ahead and cook it right away you can.


see the glaze as if it was some bbq sauce 
so cook on grill as you usually would then devour


write you later
sara